Disclosure: Some of the links below are affiliate links, meaning, at no additional cost to you, I will earn a small commission if you click through and make a purchase. We are a participant in the Amazon Services LLC Associates Program, an affiliate advertising program designed to provide a means for us to earn fees by linking to Amazon.com and affiliate sites.
Easy Image Transfer to Glass Using Waterslide Decal Paper Technique

A few months back, my husband gave me a flower arrangement that came in the glass vase below. After the flowers died and I threw them out, I tried to clean this glass vase but it just wouldn’t come clean. Not sure why.

Anyway, I was going to throw it out until I came across a cool DIY project from Diana of Dreams Factory at The Graphics Fairy website using waterslide decal paper. So if you have some glass vases or pitchers you don’t know what to do with, check out this easy DIY project below!
Materials to Transform a Plain Glass Vase into a Vintage Home Accessory

Get Ready to Paint!
You will need basic acrylic paint in two colors. Black should be one of them and then white or in the case of my project, Antique White. I didn’t even use acrylic paint for glass…just regular acrylic paint.
Materials Include:
- Glass Vase
- Black Acrylic Paint
- White or Antique White Acrylic Paint
- Artist Paint Brush
- Wax Candle
- 120 or 180 Grit Sandpaper
- Vintage Images or Typography
- Waterslide Decal Paper (this waterslide decal paper is for an inkjet printer and it’s the one I used for this project)
- Scissors
- Small Scraper like this Cricut Scraper
- Krylon Acrylic Sealer
Painting a Glass Vase
Your base coat will be black paint. I used Craft Smart Black acrylic paint. Make sure the paint is not diluted in any way and your brush is not wet before using the black paint. You’ll also need several coats of paint. Only paint the next coat when the previous coat dries.

Also, you want to try and avoid painting over the same stroke when the paint is still wet. Because glass is so slick, this will take off some of your paint.
Aging Your Glass Vase
After you’ve completed your black paint base coat let it completely dry. Afterward, take a wax candle and rub it over the entire vase. This will help achieve a more distressed or “vintage” look as the project moves forward.

I used a wax number birthday candle. It worked best out of all the candles I had. I paid particular attention to the edges where I wanted a more aged look.
Painting the Second Color
For the second color, I used DecoArt Antique White acrylic paint. This easy DIY glass vase project also looks good using white acrylic paint. Amazon has a really good buy on this Craft Smart Acrylic Paint 16 Colors Value Pack. You may need a couple of coats of this top coat paint.

Making the Glass Vase Vintage
Once the top coat is completely dry, use your sandpaper to rub off a little bit of the paint to make the vase look “chippy.” This will give the vase that classic vintage look. I paid particular attention to the corners, edges, and top and bottom of the vase.
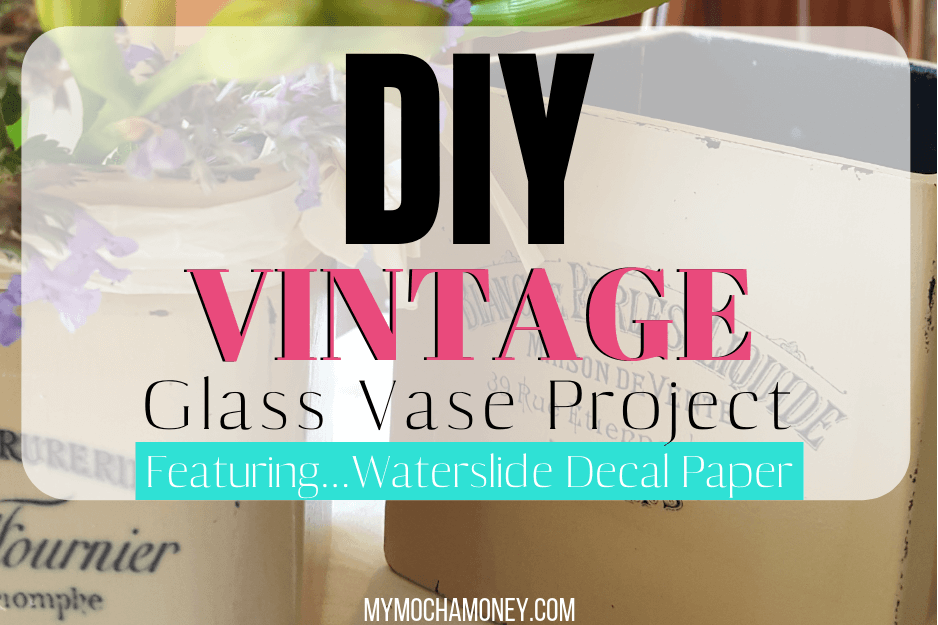
I did this project on two different vases. The picture below is of a more decorative glass vase that has more curves to it.

Waterslide Decal Paper
Following the directions on your waterslide decal paper package, print out your vintage designs or typography.

I used the same French typography labels from the DIY aged glass pitcher project by Dreams Factory on The Graphics Fairy website.

Unlike the glass pitcher project, I kept the French labels intact because my vase has flat sides.
Other DIY Posts You May Like
- Cricut Projects to Sell: Cricut Business Ideas for Your Cricut Explore Air 2
- 5 Very Easy Cricut Vinyl Projects to Sell
- 2 Very Easy Cricut Ideas for Beginners
- 11 Easy DIY Crafts to Sell For Extra Money by Tomorrow
- Make Money Selling Your Handpainted Items on eBay – Even if You Can’t Paint!
Once you have your images printed, cut them out. I didn’t want the outline around the labels so I cut right inside the lines.

Again, follow the instructions on the waterslide decal paper on how to apply the designs to your object. Gently use a paper towel to remove excess water from behind the design.
After this, I used my small Cricut scraper to make sure the design laid flat on the vase and was free of wrinkles.

Protecting Your Waterslide Decal Paper Project
Use Krylon matte or gloss acrylic spray sealer over your entire project including the decals. This will help protect your painted glass vase and waterslide decals from potential damage.
This DIY project for the home was really easy and I love how my vases using the waterslide decal paper turned out!

In fact, I loved the simplicity of the waterslide decal paper so much, I decided to try it on my Luminara Flameless Candles! These are the absolute best flameless candles with timers and moving wicks!

With waterslide decal paper and some great graphics from The Graphics Fairy, you can transform so many items into one-of-a-kind home accessory pieces!

Leave a Reply